I don’t know if it’s the same for you, but the weeks before holidays are always quite chaotic for me ! Emergencies at work to be handled in the absence of colleagues already on vacation, travel planning, preparing suitcases… and I have very little time left to sew ! but since I can’t do without it, I rather look for super fast patterns to make like Rosalie from Fibremood !
.: The pattern
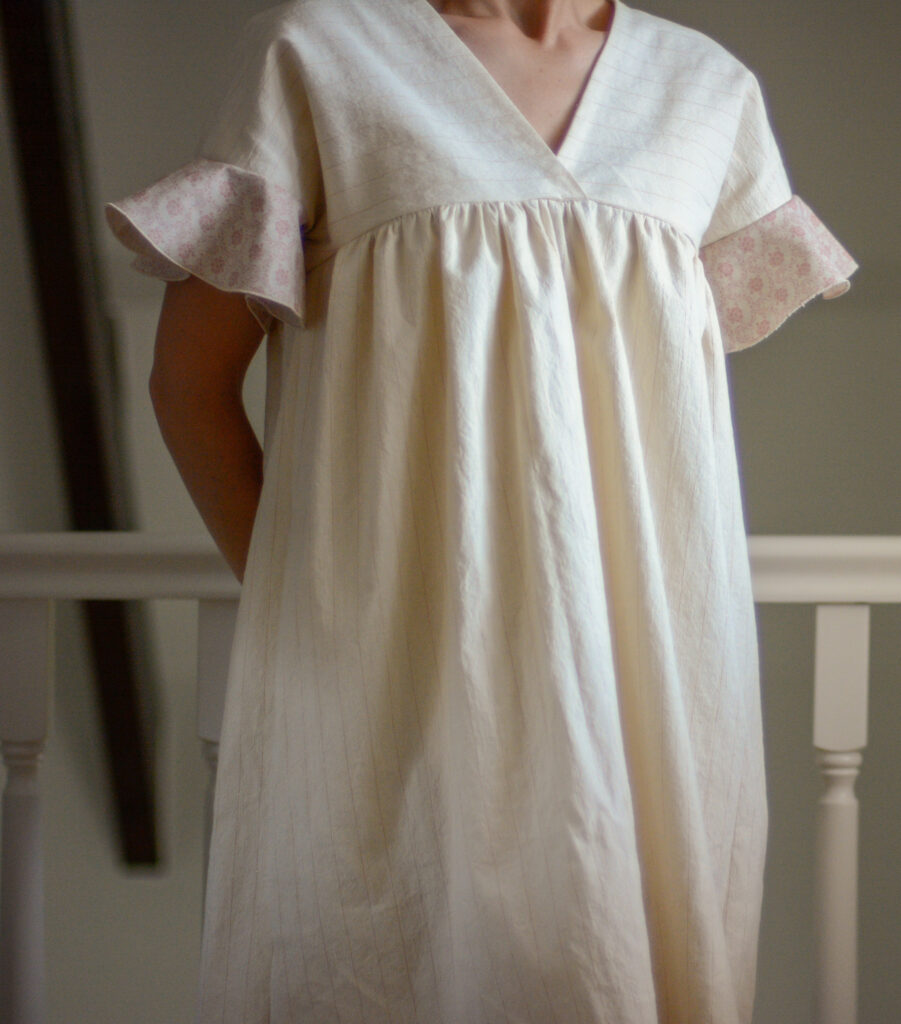
Rosalie is a wide, unlined pattern with a V-neck and ruffled sleeves. The skirt attachment, below the bust, is slightly gathered.
.: The fabric
For the body I used a medium thickness cotton (200g/m2), cream color decorated with thin and elegant lurex stripes. It has good hold and opacity. This fabric was included in Joli Lab’s June kit but it can be purchased separately. For the sleeves I used a one-meter remnant of Japanese cotton that had been offered to me at the Paris Creation Salon held in October 2021.
.: The size
The available sizes range from XS to XXXL. I opted for size S but if you don’t like the cut too loose opt for a size smaller than your usual!
.: The modifications
Absolutely none !
.: The difficulties
Super simple, in a couple of hours the dress is ready! The fabric is super easy to sew, and you can wear it from the head without the need for either zippers or buttons. It is an ideal pattern for beginners.
.: The cost
As I said, the fabric was included in a monthly kit that I buy from time to time, but you can also find it by meters at a metre price of €9.95 EUR. I would say I needed less than two meters. For the sleeves, the fabric was free :-). I purchased the paper pattern at Veritas.
Let’s say that with less than 20 EUR I made myself a nice little dress !
.: Would I make it again?
Yes yes I would remake it in black sangallo lace !
Dear ones, I am so excited to write you this article in which I am presenting a knitting project for the first time.
Actually this would be the 4th knitting project but alas I have not yet been able to show you the previous ones 😊.
I washed and blocked it yesterday and couldn’t wait to tell you about it.
.: The pattern
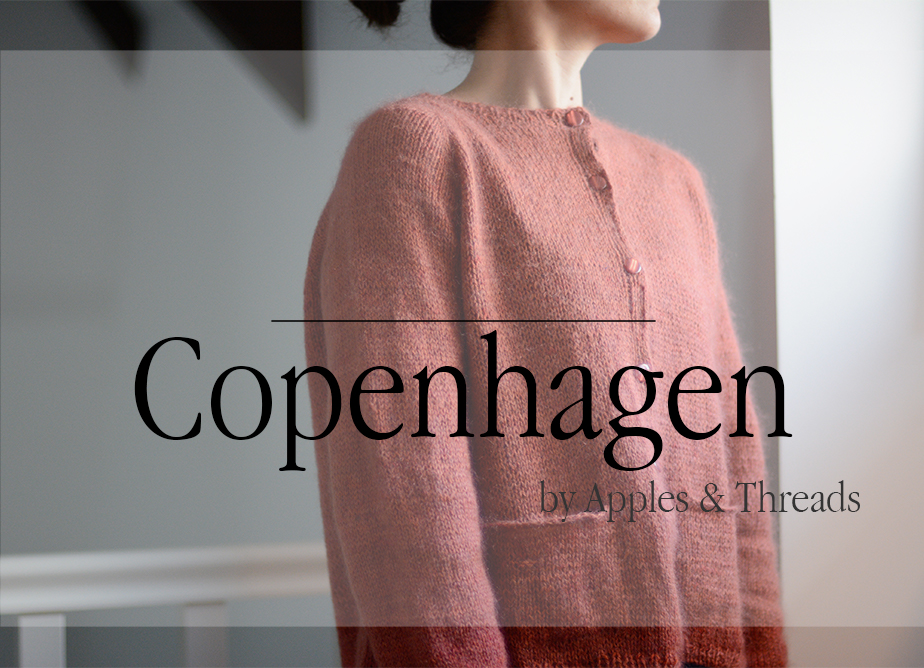
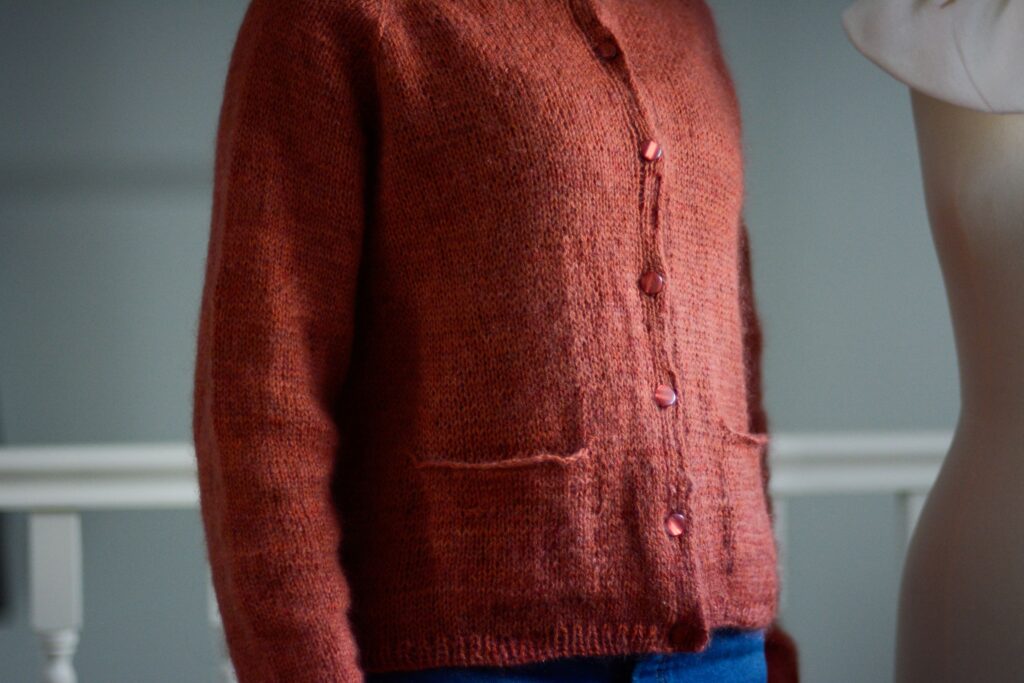
This is the Copenhagen cardigan from PetiteKnit. You can find it in English or French.
It is worked flat from top to bottom with a raglan to make the increases.
The neckline is shaped with reduced ranks. The stitch used is jersey, with circular needles number 3.5 mm (for ribbing) and 4 mm.
The pattern includes 7 or 8 buttons depending on the size used. Buttonholes are created at the end so it is not necessary to make them while knitting.
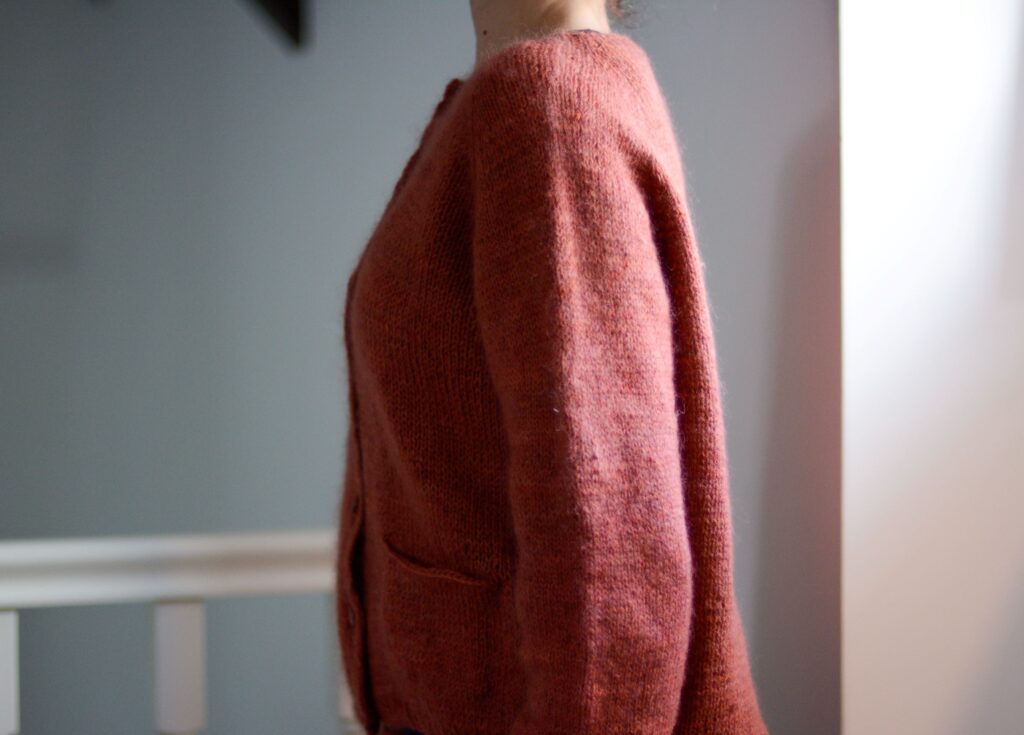
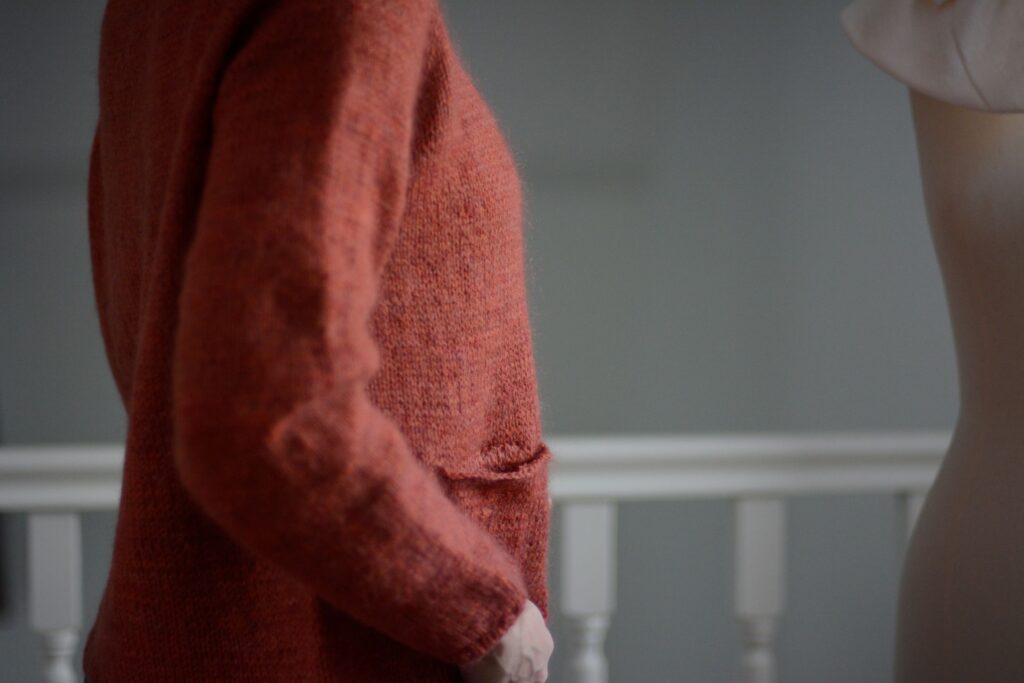
Another detail, the Copenhagen cardigan is offered with pockets inserted in the front. The sleeves are worked in the round without seams.
I really like this Danish designer, her descriptions are very clear and precise and she proposes several options for the wool to be used.
.: The wool
To make it I used two yarns, Lanivendole’s chic blend, composed of 60% Brogna wool, 20% alpaca and 20% mohair (50g – 225m approx.) color Nasturzi, and Knitting for Olive’s soft silk mohair, 30% silk and 70% mohair (25g – 225m approx.), color forest berry.
As soon as I picked up the chic blend it seemed less soft than other wools I have purchased, but I assure you that after washing and blocking it is nice to wear, I tried it with a sleeveless top underneath and it doesn’t scratch my skin at all!
I had heard so much about the softness of soft silk mohair from Knitting for Olive and I can only confirm.
.: The Size
The model is offered in sizes XS, S, M, L, XL or XXL.
As a size I opted for a size S, with a recommended ease between 6 and 11 cm.
.: The modifications
Honestly being a novice I didn’t have the courage to make any changes to the pattern yet, but I must say that I like the cardigan as proposed.
.: The difficulties
I did not encounter any particular difficulties. I followed the description step by step, except for the pockets. PetiteKnit refers to an explanatory video (in Danish! But at least I find it useful to see the pictures) but I preferred to follow the explanations from Lize Tailor’s book (je deviens expert tricot).
For a “top-down” assembly to create inserted pockets, I worked the stitches to the point where I wanted to insert the pocket (indicated in the instructions). Then I put the 22 stitches corresponding to the pocket opening on hold. I inserted a stitch marker and then on the needle I recreated the same number of stitches put on hold using the French cast on technique. I inserted a second stitch marker and continued to knit until the end of the round.
Once the body and sleeves were finished, I picked up the waiting pocket stitches on the needle and worked them back and forth for the desired length of about 10 cm. I finally sewed the 3 sides of the pocket to the body of the cardigan.
.: The cost
To make the cardigan in size S, I used 4 balls of Nasturzi for EUR 11.90 each and 4 balls of Knitting for Olive Soft Silk Mohair – Forest Berry for EUR 7 each (shipping not included).
For the buttons I chose the Swing – Terracotta – 15 mm diameter by Atelier Brunette for 1.30 EUR each.
Total: 84.70 EUR.
.: Would I knit it again?
It is a very elegant and simple pattern that I would definitely make again. Not right away though because I have a myriad of other patterns in my head that I would like to knit!
I was looking for a blouse with a straight cut and adjusted to the body, which I could wear comfortably under a pullover. And long enough to fit into the pants.
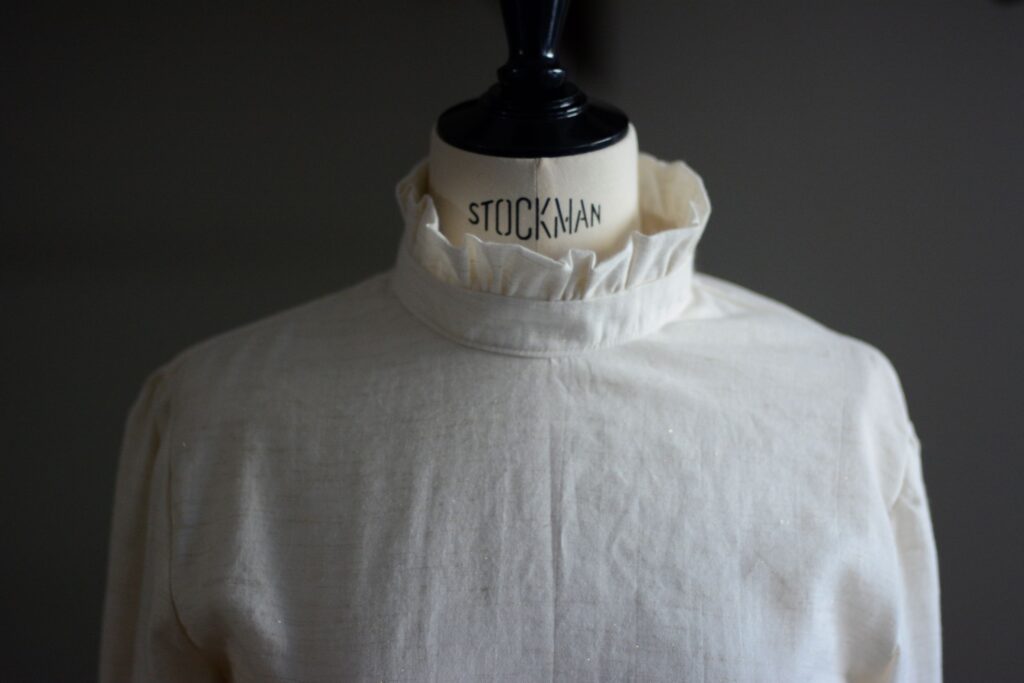
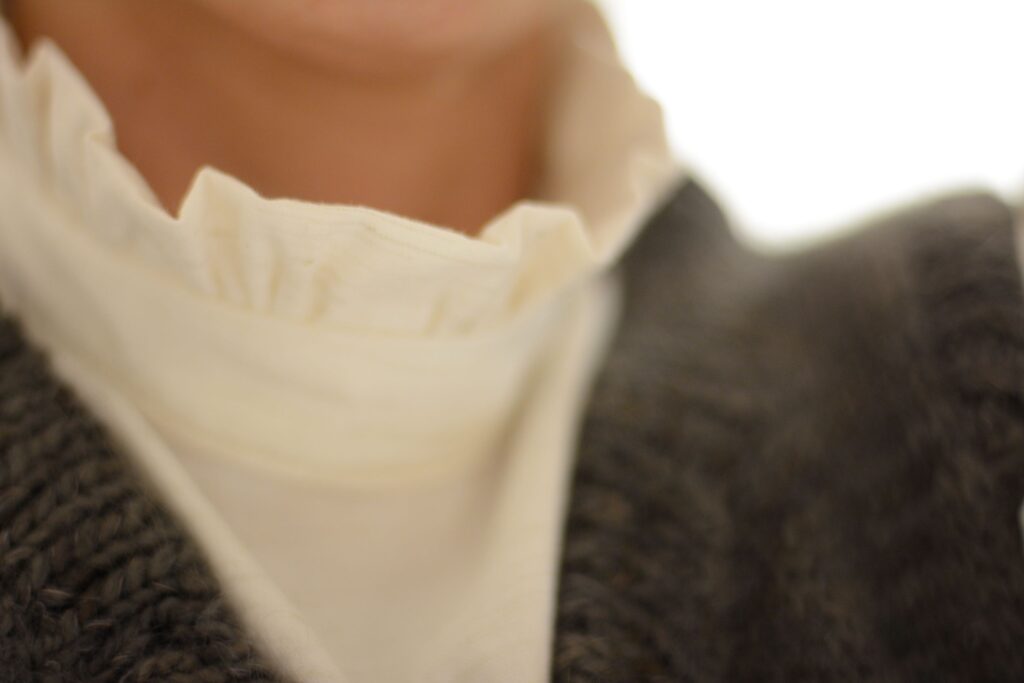
Passion by Atelier Scammit responds well to these requirements. Made with French seams, I find this model very elegant and refined, with its Victorian collar and froufrou sleeves.
Johanna proposes alternatively the smocks for the finishing of the collar and of the sleeves , which can be short or long.
In terms of modifications, I did not sew the pockets on the front to avoid the thickness under the pullover and, for the sleeves, instead of making the flounces I used an embroidered border that I had available.
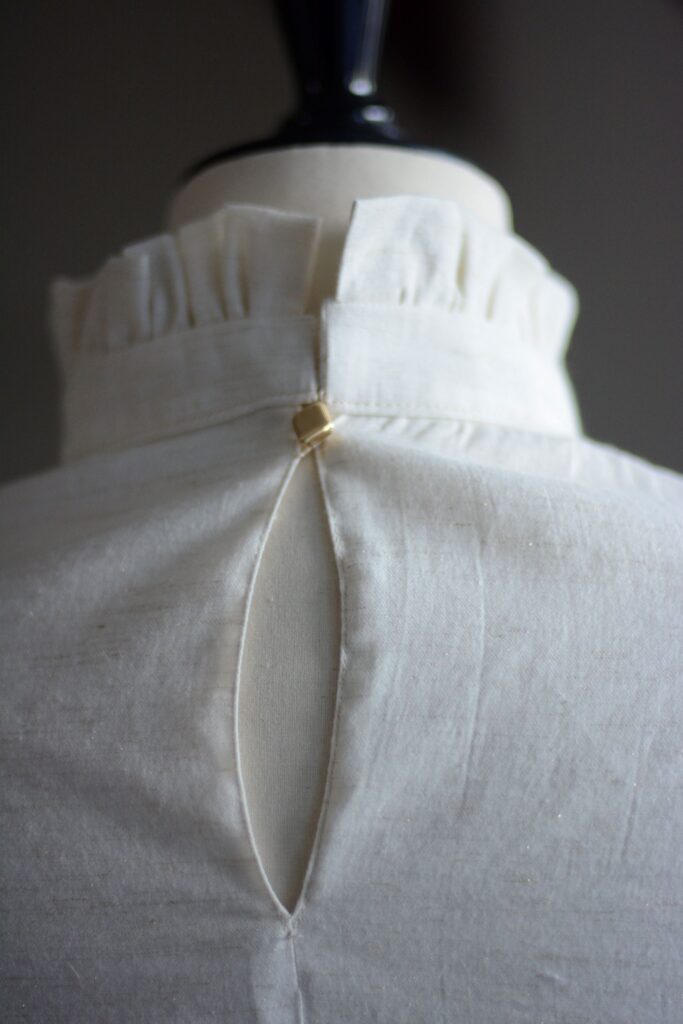
On the back, the blouse closes with a teardrop cut and a button.
If you follow the tutorial, the designer explains how to make the buttonhole with an embroidery thread. It’s the first time I’ve tried it and I find the result quite nice.
For the fabric, unfortunately, I don’t remember where I bought it, but it is absolutely soft! With its golden details, I love it!
I recommend this model. I think I would gladly do it again. Besides, I find that it goes very well with my Betty slipover, which I will tell you about shortly.
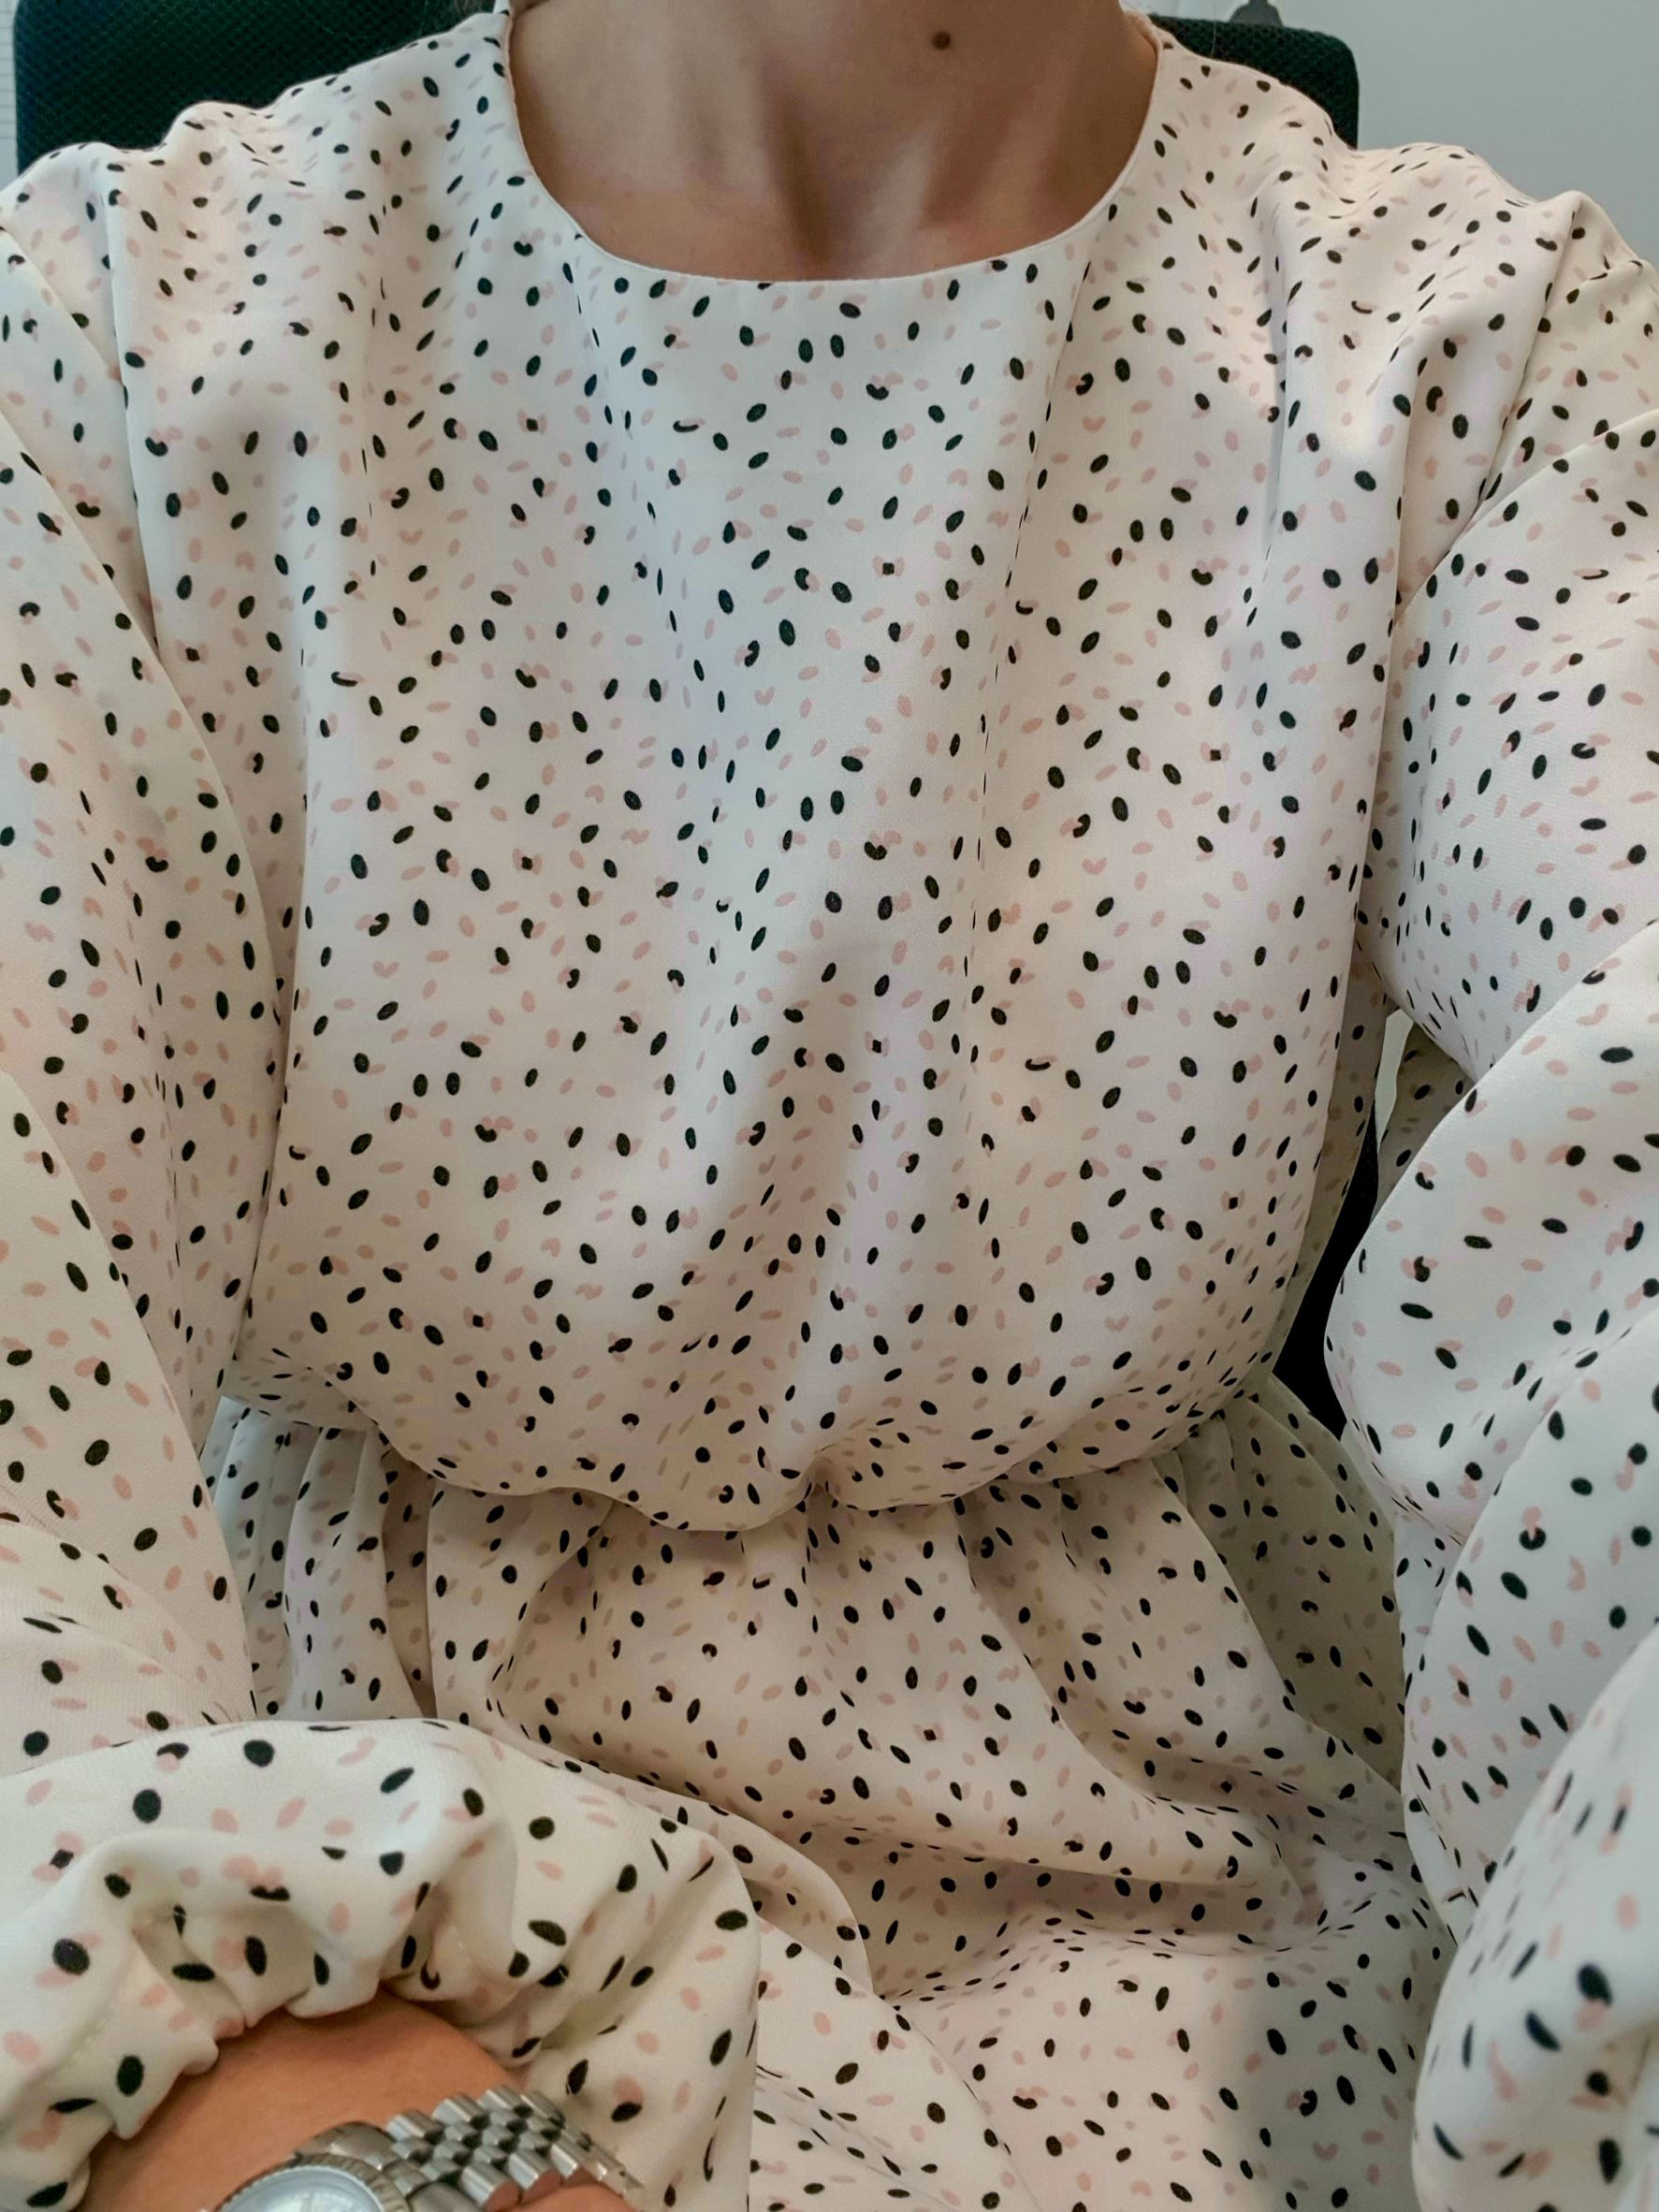
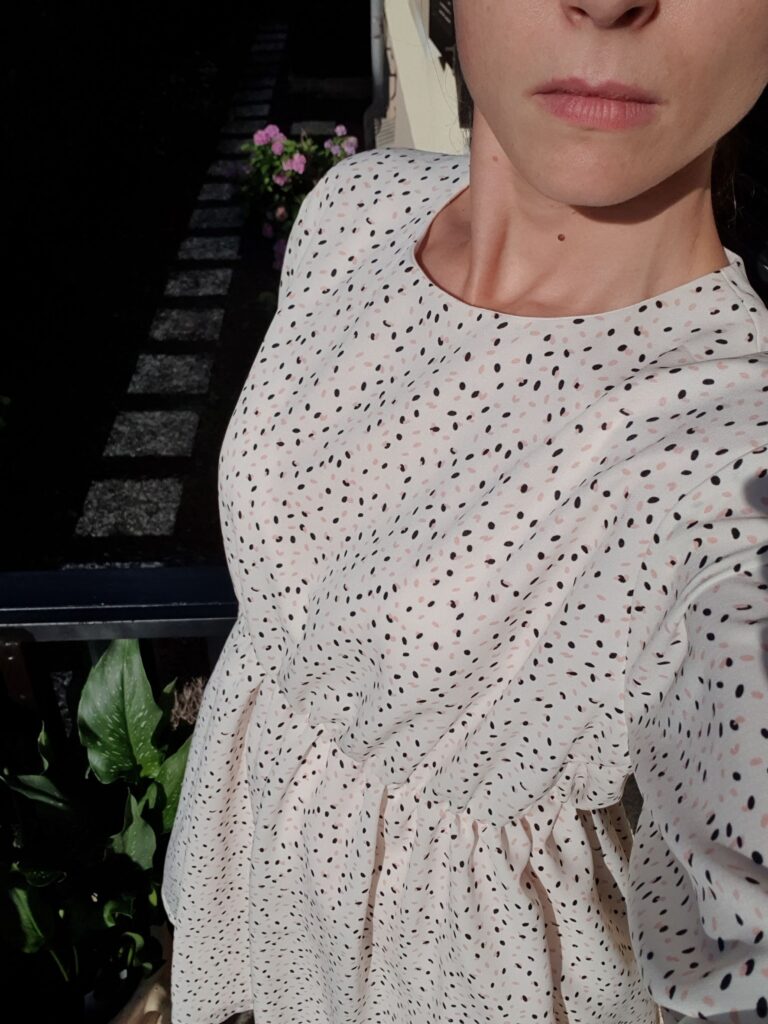
I discovered this free pattern of dress Dolce from Maunamé by chance while surfing the internet. I was looking for a romantic model, with an elastic waistband to use a pink and black dot viscose that I had in stock. I don’t know about you, but I generally start from a model and then look for the right fabric, and not vice versa, except if I am falling in love at first sight for a particular fabric, which oh my! It happens quite frequently in reality! But I promised myself to be less impulsive now, to buy more carefully. Before starting sewing, I didn’t buy a dress every month! Other than slow fashion! Sometimes I have the impression of consuming more! Do you have ever had this feeling?
But now, returning to the pattern, the substantial change I made was the lining which was not originally included, but the fabric seemed a little transparent to me.
The sleeves seemed a bit too long but I just made a double hem of 2 cm instead of 1 cm + 2 cm and the length was perfect to create the balloon effect.
My, how time flies! I realized that I hadn’t written anything for a few months… it will be summer, you will say, the desire to enjoy the good weather and go out as much as possible… but this year, Luxembourg has been living up to its reputation… bad weather is quite natural ⛈️!
But let’s be positive! The cold allowed me to discover a new passion! Do you guess? 🙂
Don’t worry, I’ll tell you about it shortly!
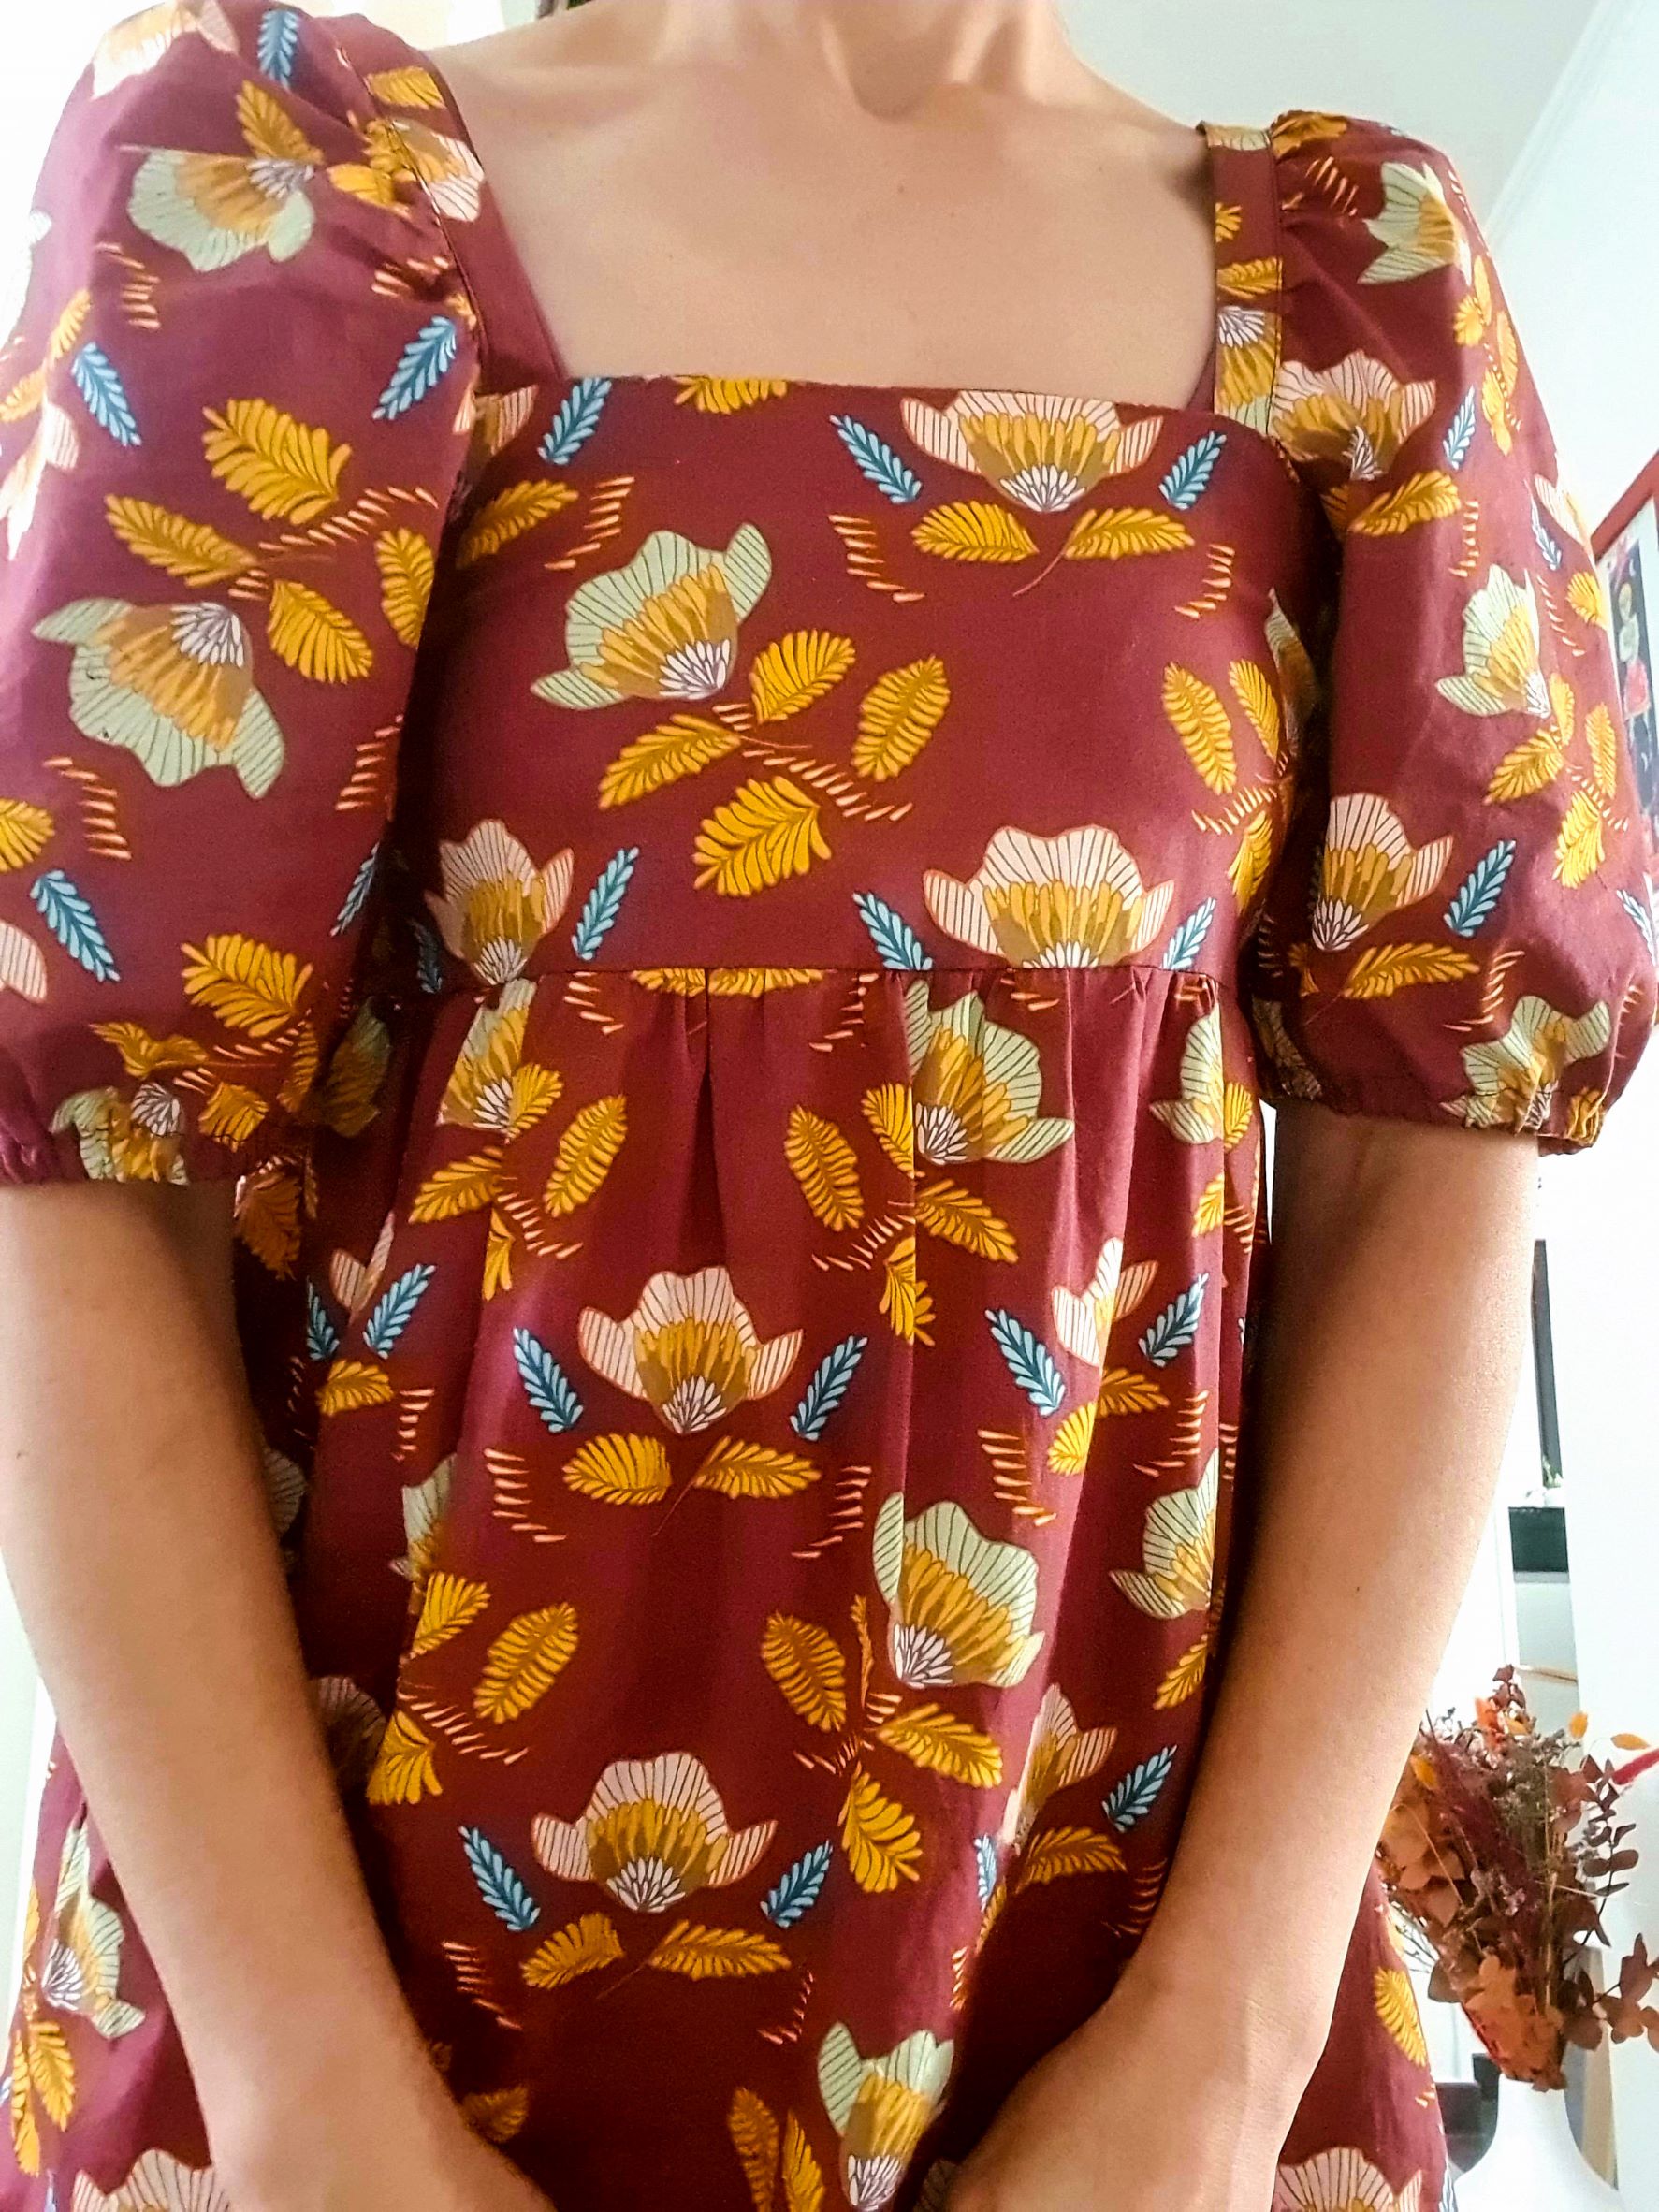
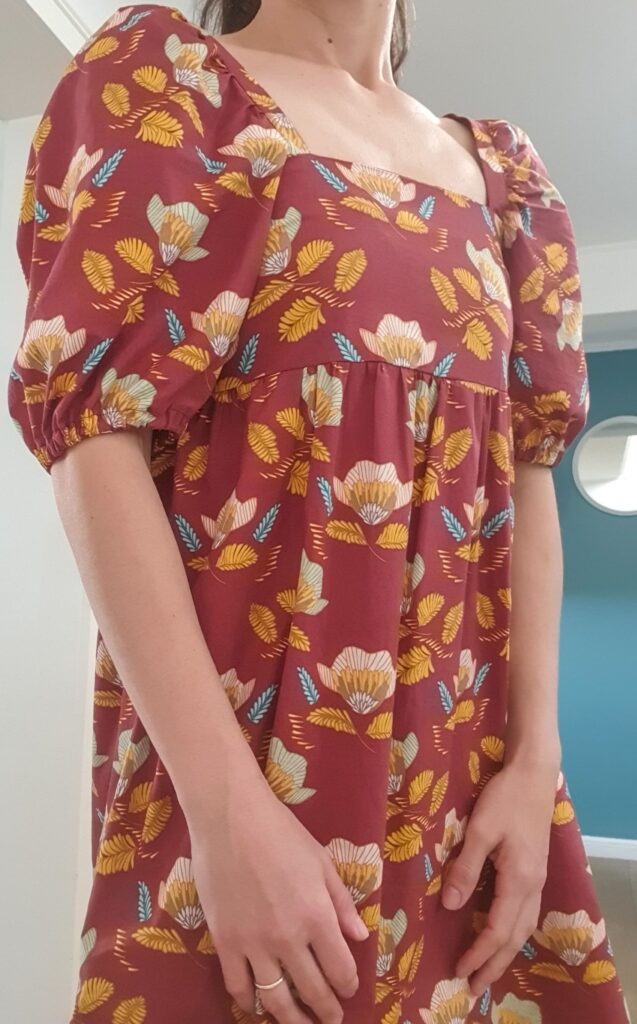
First I want to tell you about a couple of models that I sewed recently and that I LOVE! The first is the Mindy dress by Fibremood in a super burgundy flowery poplin, by Charlie Coud.
The model features a gorgeous square neckline. The realization of the straight cut gave me a little trouble.
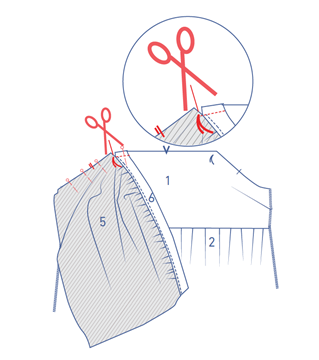
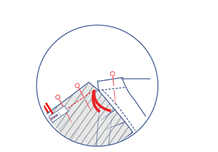
You have to raise the presser foot and snip into to the seam allowance of the sleeve + neck trim until just before the needle.Turn the garment, lower the presser foot down again and now stitch the slanted edge together, with the notches matching.
The cut is essential to ensure a good square and I am always afraid to cut too much!!!!!
At the level of sleeves I opted for the balloon version with elastic.
In case the puffy sleeves were not of your taste, you can opt for a butterfly sleeve.
The dress closes with an invisible side zipper of 20 cm. I chose a zipper that I had bought from Atelier Brunette that I had available 60 cm long and that I cut to adapt the length. As for the size I cut everything to my usual size but if I had to do it again I would add a couple of centimeters in length to be able to wear it at the office.
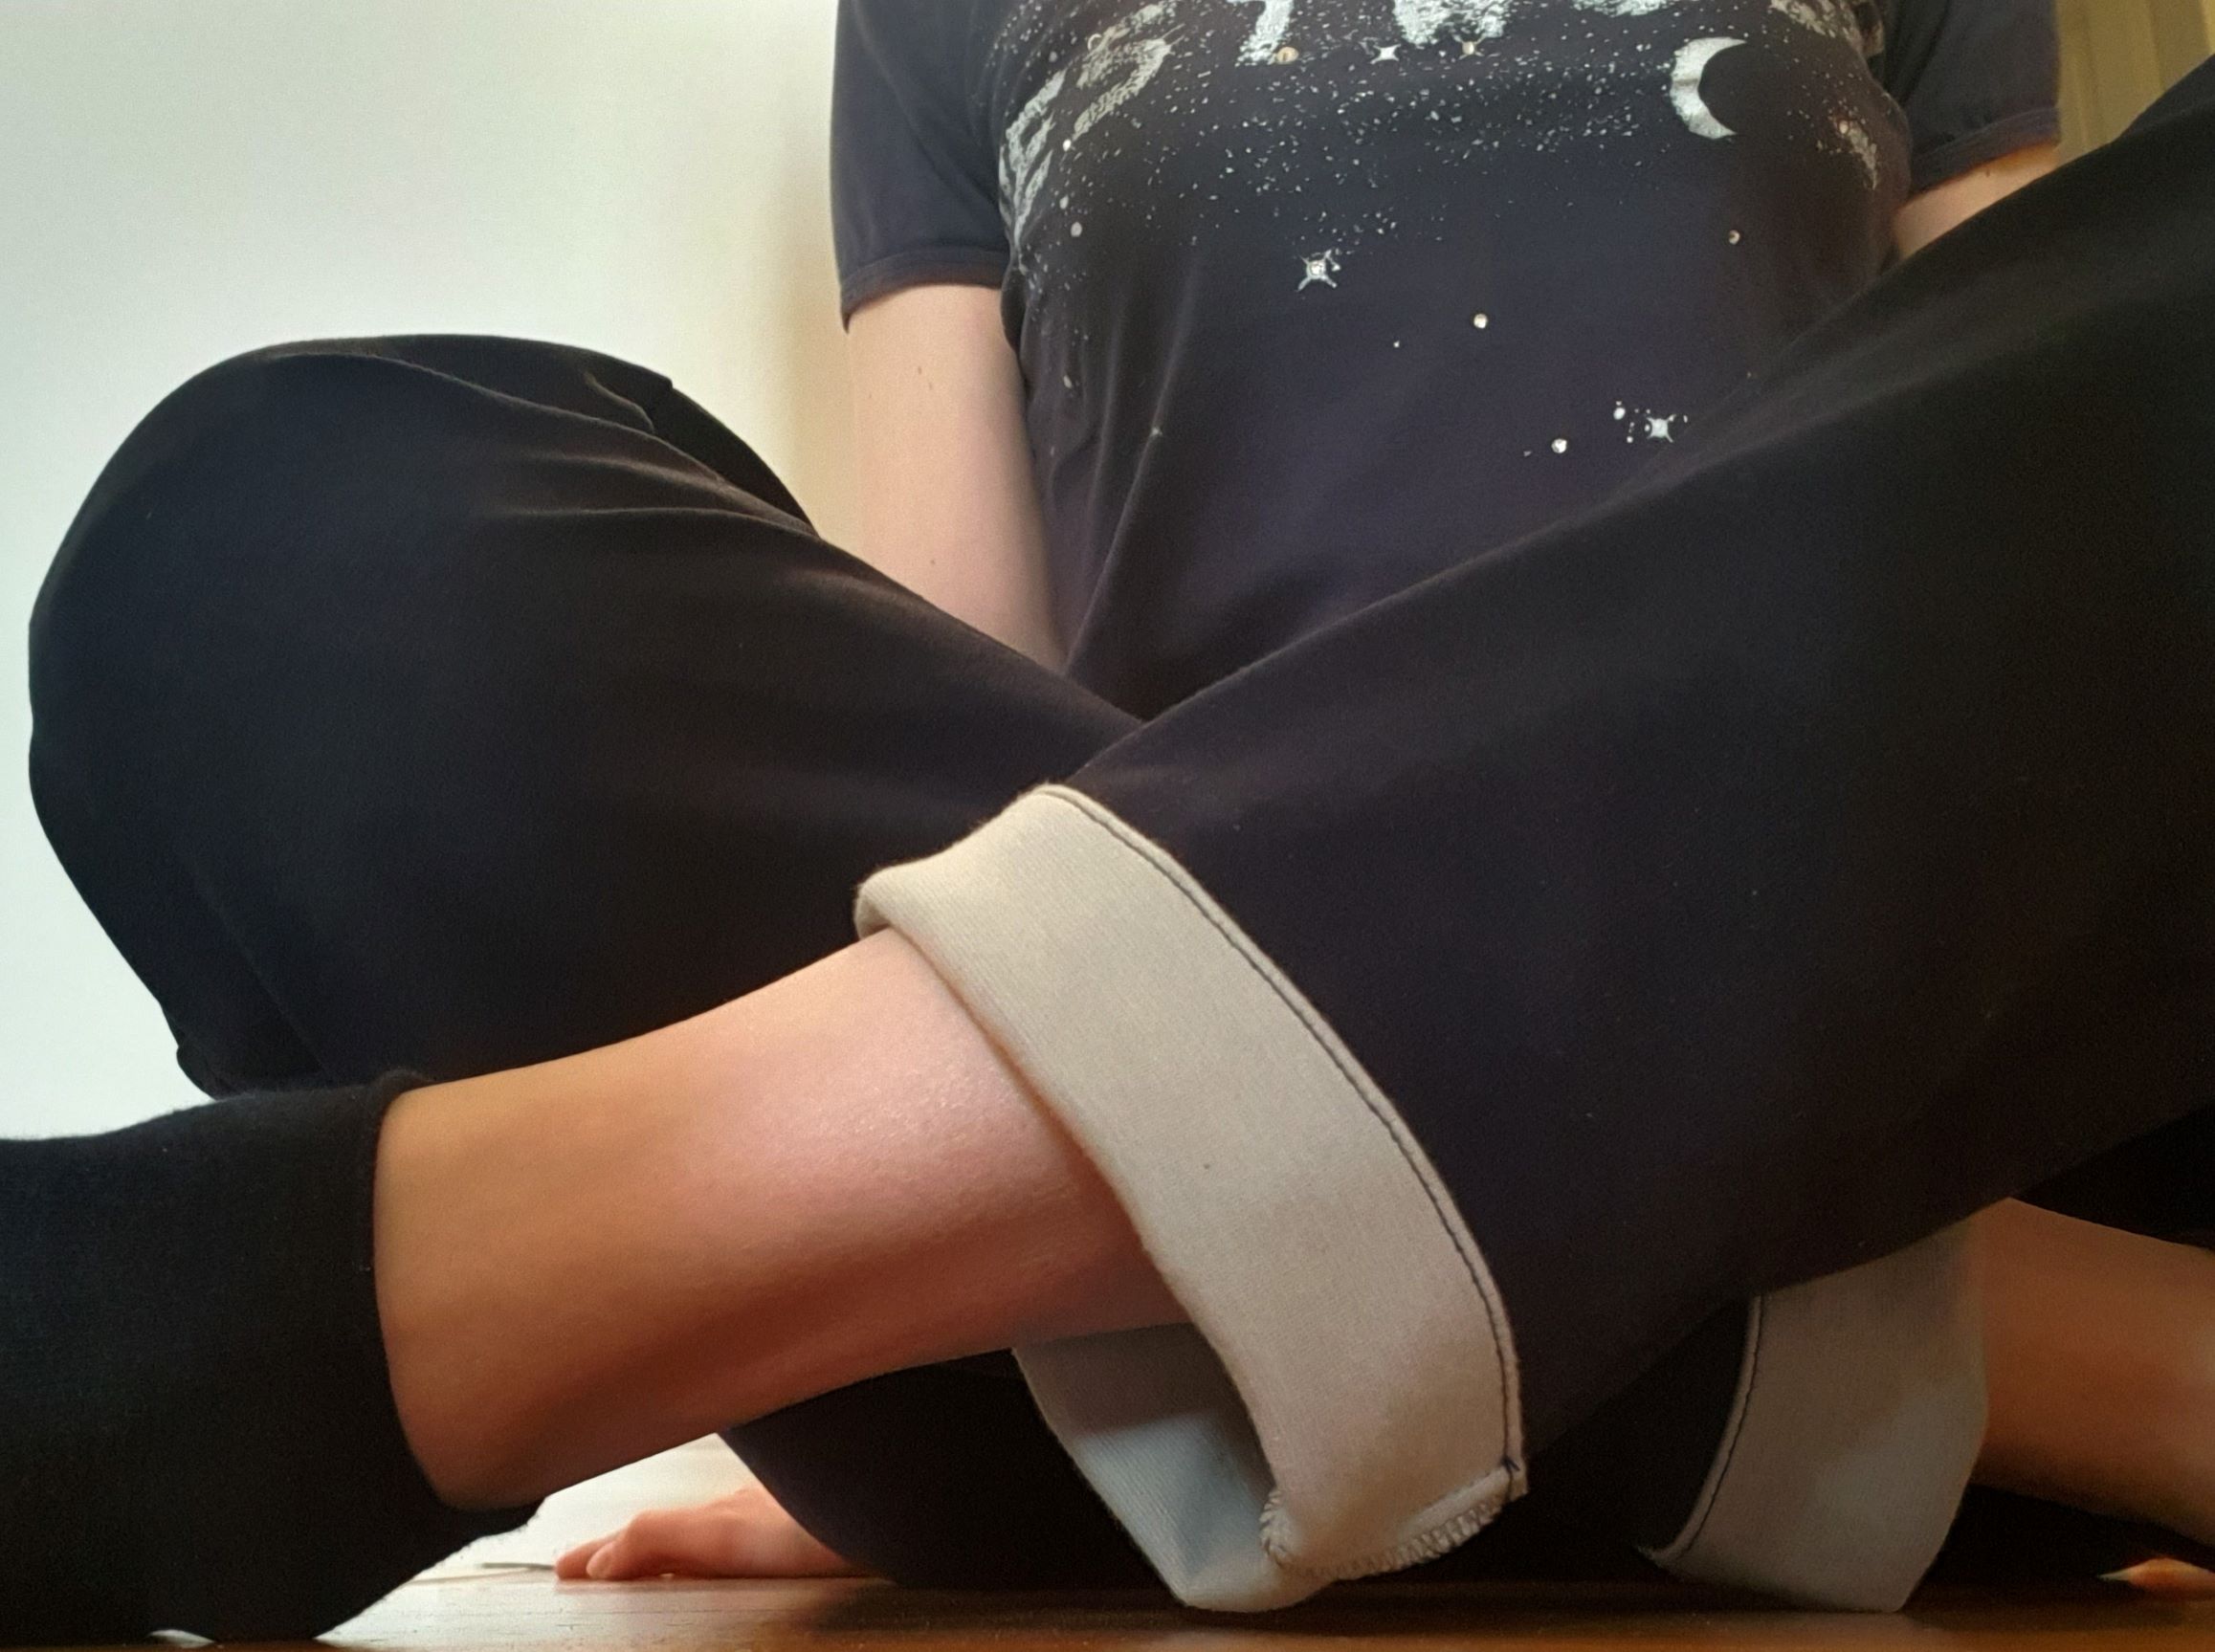
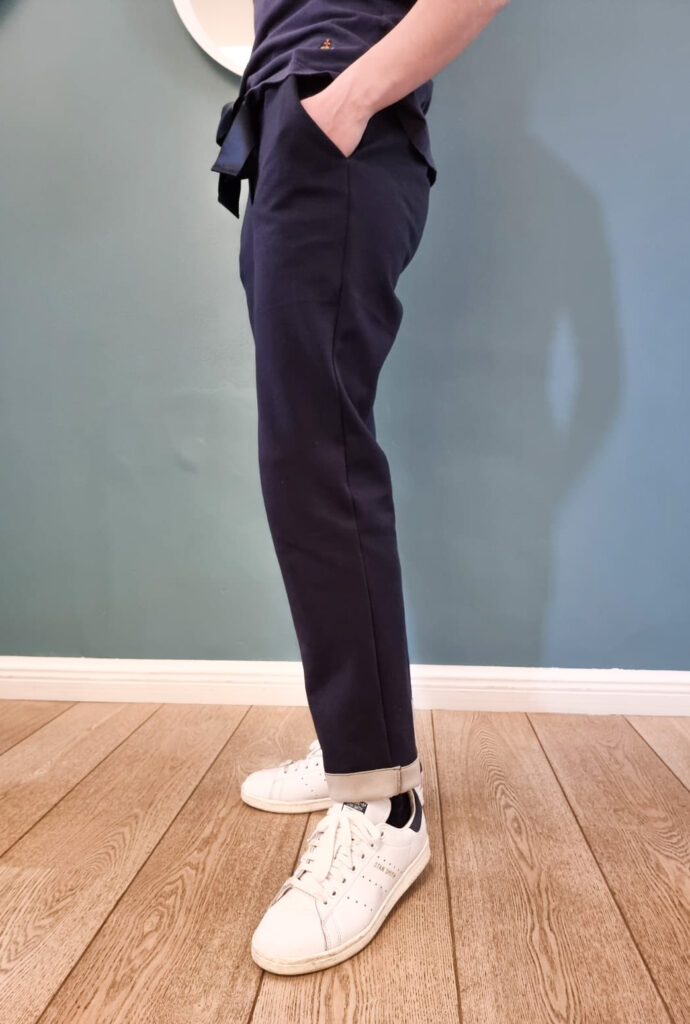
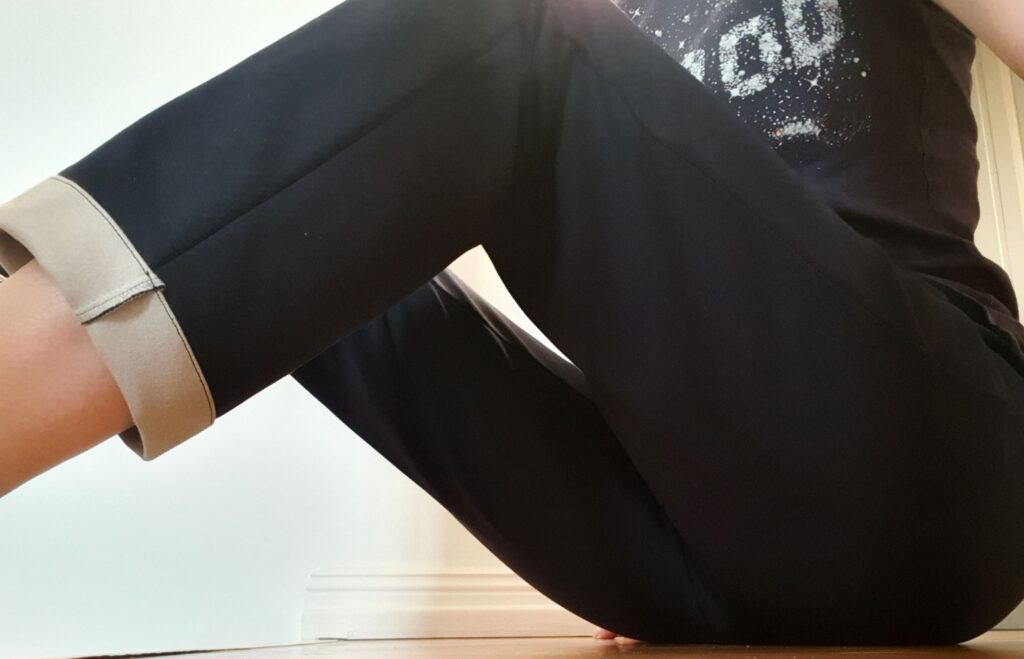
It might be the situation of almost constant confinement at home, but lately I’ve been looking for super comfy fabrics and models to wear. I recently bought a blue and gray double-face jersey fabric from my little coupon, 95% cotton and 5% elastane, with a nice weight (500 / ml) but I was hesitating about what to do with it. After surfing the internet, I finally opted for the Sophie trousers by Cha’Coud (the alternative was the plateau joggers by Closet Core patterns). In fact, I was looking for something sporty but also quite classic.
Honestly, I’m super happy with the result, the trousers are super comfortable. I opted for my classic size 36F and I removed 5 cm from the sides to make them more adjusted to the body.
On a technical level, I had to be a little more careful in sewing the back elastic waistband of the trousers to ensure that the extra of the fabric was distributed well (for my size I cut a 30.5 cm elastic).
The zipper cuff is fake so the model is quite quick to sew.
For the knotted belt, instead of using the same fabric, I used a 4 cm wide blue satin ribbon and did not sew the loops.
Now I am thinking about what to sew with the rest of the fabric. What do you recommend?